1. THE OUTCOME
When you’re done, Gmail will have a clean label structure you control (including optional nested labels like Work/Clients), and you’ll be able to apply labels to any email in seconds—by menu or keyboard—without labels “disappearing” from the sidebar.
2. BEFORE YOU START
- Required: A desktop browser signed into Gmail (label creation is limited on mobile, especially Android)
- Required: Permission to change Gmail settings (some Workspace accounts restrict this)
- Recommended: Use Chrome/Edge/Firefox on desktop for the full UI
- Optional (for speed): Enable keyboard shortcuts in Settings > See all settings > General > Keyboard shortcuts on
- Time estimate: ~5–10 minutes for 5–10 labels (faster once shortcuts are enabled)
3. THE STEPS
Step 1: Open Gmail on desktop
Go to https://mail.google.com and confirm you’re in the correct account.
Expected result: You see your inbox with the left sidebar (Inbox, Starred, etc.).
If you’re on a phone/tablet and can’t find label creation, switch to a desktop computer. Mobile apps often don’t expose “Create label.”
Step 2: Expand the label area in the sidebar
In the left sidebar, scroll down and click More.
Expected result: The sidebar expands and you can see more items (including your existing labels, if any).
If the left sidebar is collapsed, click the Main menu (three lines) in the top-left to expand it.
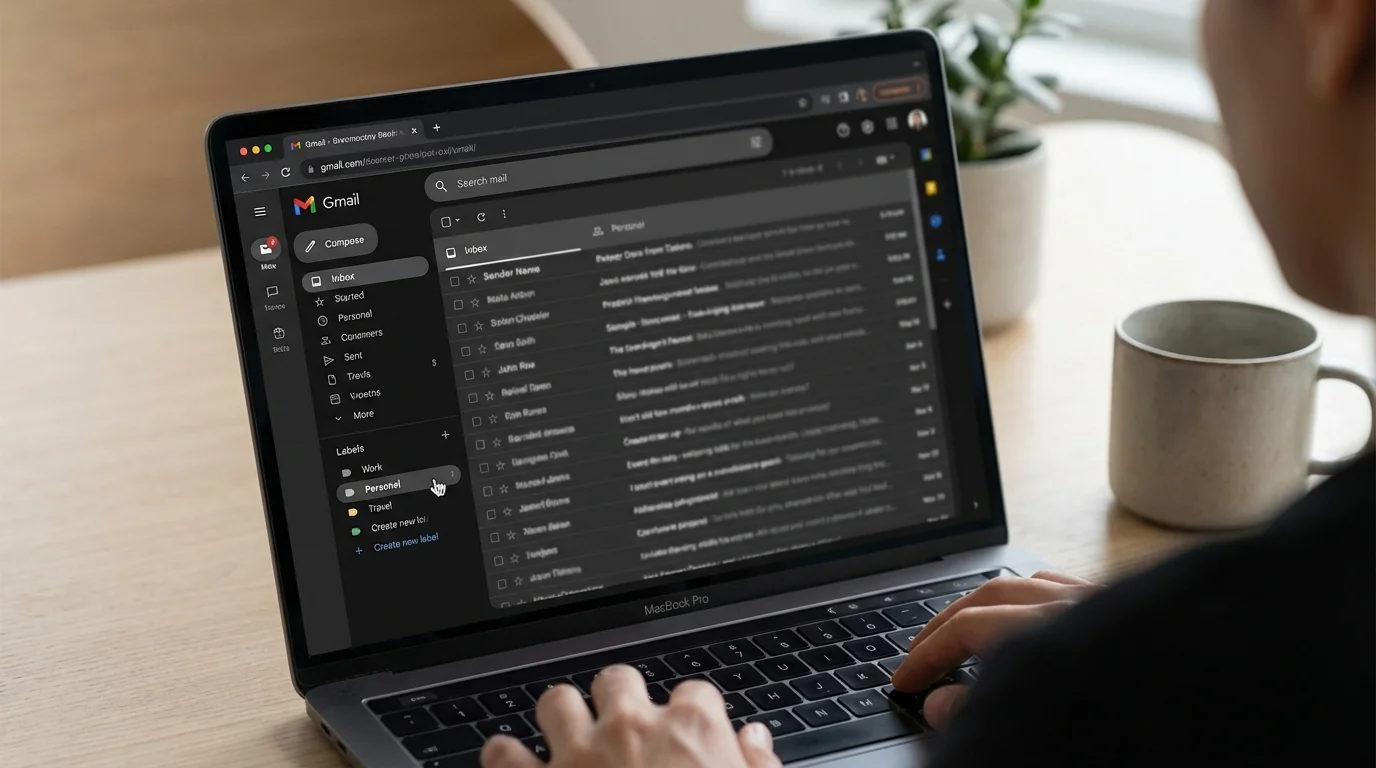
Step 3: Create a new label from the sidebar
Click + Create new label.
In the dialog:
- Type a label name (example: Receipts)
- (Optional) Check Nest label under and pick a parent label
- Click Create
Expected result: The new label appears in the left sidebar (or under its parent if nested).
Gmail won’t allow duplicate labels that differ only by case (for example, “Work” and “work” count as the same label).
Step 4: Create a new label from Settings (backup path)
Use this path if you don’t see + Create new label in the sidebar.
Click Settings (gear) > See all settings > Labels.
Under the Labels section, click Create new label, name it, then click Create.
Expected result: The label is created and listed in the Labels tab, and available in the sidebar.
This Settings path is also where you fix labels that exist but don’t show in the sidebar.
Step 5: Choose whether the label shows in the sidebar
Stay in Settings > See all settings > Labels.
Find your new label and set visibility:
- Under Show in label list, choose Show (or Show if unread)
- Under Show in message list, choose Show if you want the label name to appear on messages
Expected result: Your label is visible exactly where you want it (always, only when unread, or hidden).
Use Show if unread for low-priority labels to keep the sidebar calm.
Step 6: Apply a label to an email from the inbox toolbar
Go back to your inbox.
Select one or more emails using the checkbox.
Click the Labels icon (tag-shaped) below the search bar.
- Check an existing label, or
- Click Create new to make a label without leaving the inbox
Expected result: The selected emails now have that label applied.
If you label one message inside a long conversation, Gmail behavior can feel inconsistent. For best results, label the whole thread from the inbox list (checkbox) rather than an individual opened message.
Step 7: Create and apply a label using the keyboard shortcut
First enable shortcuts:
Click Settings > See all settings > General > turn Keyboard shortcuts to On > click Save Changes.
Now apply labels fast:
- Select an email in the inbox
- Press L
- Type the label name
- Press Enter to create/apply
Expected result: The label is created (if it didn’t exist) and applied immediately.
This is the fastest way to label at scale: checkbox → L → type → Enter.
Step 8: Create a nested label that stays readable
Use nesting when you want structure like folders, but keep it shallow.
Click More > + Create new label.
In the dialog:
- Name the label (example: Clients)
- Check Nest label under and select a parent (example: Work)
- Click Create
Expected result: You see Work with Clients indented beneath it (displayed as Work/Clients in some menus).
Avoid more than 2 levels deep. Nested labels can be harder to search and easier to miss in long lists.
Step 9: Rename a label without breaking your organization
In the left sidebar, hover your label.
Click the More (three dots) next to the label > Edit.
Change the name and click Save.
Expected result: The label name updates everywhere Gmail shows it.
If other tools or automations depend on the exact label name, renaming can break those rules. If you rely on filters, update them after renaming.
Step 10: Delete a label safely (without deleting emails)
In the left sidebar, hover the label.
Click the More (three dots) > Remove label.
Expected result: The label disappears, but your emails remain in Gmail.
Removing a label does not delete messages, but it can make them harder to find if you relied on that label for retrieval. Consider renaming first.
Step 11: Confirm your labels work by searching them
Click the search bar and run:
- label:receipts
- label:work/clients
Expected result: Gmail shows only messages with that label.
If nested label search feels flaky, use the label picker from the sidebar instead of typing, or shorten label names to reduce ambiguity.
Step 12: (Optional) Use labels as “folders” by moving mail out of Inbox
Labels are more powerful than folders because one email can have multiple labels. But you can still simulate folders.
Select labeled emails, then click Archive.
Expected result: The emails leave Inbox but remain accessible under the label.
Archiving doesn’t delete. It removes from Inbox view. If you need it to stay visible, don’t archive.
4. COMMON PATTERNS (copy/paste values)
These are proven label setups that reduce decision fatigue.
Pattern 1: Receipts and purchases
- Goal: Find proof of payment fast
- Label:
Receipts - Search to batch-label:
subject:(receipt OR invoice) OR from:(billing@ OR receipts@) - Action: Select results > Labels >
Receipts> Archive
Pattern 2: Newsletters (read later, not now)
- Goal: Stop newsletters from living in your Inbox
- Label:
Newsletters - Search:
unsubscribe - Action: Label
Newsletters> Archive
Pattern 3: Clients by project
- Goal: Keep one client from flooding everything
- Labels:
Work/Clients,Work/Projects - Search example:
from:@clientdomain.com - Action: Apply
Work/Clientsand optionallyWork/Projects
Pattern 4: Admin and paperwork
- Goal: Store “must keep” messages without re-reading them
- Label:
Admin - Search:
from:(no-reply@ OR noreply@) AND (subject:(statement OR policy OR renewal)) - Action: Label
Admin> Archive
If you want these patterns to run automatically, combine them with Gmail filters. Use this precise walkthrough: How to Set Up Gmail Filters (Precision Tutorial).
5. THE BETTER WAY (KeepKnown Protocol)
Labels help you organize what already arrived. The real win is preventing unknown senders from ever reaching your attention in the first place.
The bad methodology: algorithmic sorting and endless organizing
- Spam filters guess what’s bad.
- AI sorting guesses what’s important.
- You still spend time scanning, deleting, and second‑guessing.
- That creates decision fatigue and notification anxiety—even if you have perfect labels.
The better methodology: strict allow-listing (contact-first filtering)
KeepKnown flips the model:
- Works at the API level (not a plugin).
- Uses OAuth2 and verified security controls (CASA Tier 2) with encrypted hashes.
- Automatically moves messages from non-contacts into a dedicated label: KK:OUTSIDERS.
What this changes in practice:
- Your Inbox becomes a “known senders” feed.
- Labels become a second step for organizing trusted mail, not a desperate tool for surviving strangers.
If you want the allow-list approach, start here: https://keepknown.com
For the deeper reasoning behind screening over sorting, read: Stop Organizing Email Start Screening It and The Cost of Email Distraction: Unseen Impacts and Solutions.
6. TROUBLESHOOTING
If “Create new label” is missing, then switch to desktop Gmail
- Cause: Many mobile Gmail apps (especially Android) don’t allow label creation.
- Fix: Use
https://mail.google.comon a desktop browser (or enable desktop mode in a mobile browser).
If your label exists but doesn’t show in the sidebar, then change label visibility
- Cause: The label is set to hidden.
- Fix: Settings > See all settings > Labels > find the label > set Show in label list to Show.
If Gmail rejects the label name, then simplify the characters
- Cause: Some special characters can be disallowed.
- Fix: Use letters, numbers, hyphens, and spaces (example:
Work - Clients). Avoid odd symbols.
If you can’t nest under a system label, then create a custom parent first
- Cause: Gmail system labels (like Inbox, Sent, Spam) aren’t valid parents.
- Fix: Create a user label (example:
Work), then nest (example:Clients) under it.