Prerequisites
Before you start, ensure you have:
- Google Workspace Super Admin access: Necessary for generating DKIM and configuring email authentication.
- DNS management access: You need to be able to add TXT records in your domain provider.
- Verified domain: Your domain should be verified in Google Workspace.
Step-by-Step Instructions
Step 1: Set Up SPF
- Log into your DNS provider: Access the DNS management section.
- Check for an existing SPF TXT record:
- If none, create a TXT record:- Name:
@(or your domain) - Value:
v=spf1 include:_spf.google.com ~all - If one exists, append
include:_spf.google.combefore~all. Ensure only one SPF record exists.
- Name:

Step 2: Enable DKIM Signing
- Access the Admin Console:
- Go to Apps > Google Workspace > Gmail > Authenticate email. - Generate a DKIM record:
- Choose your domain and click Generate New Record. Select 2048-bit key. - Add DKIM to DNS:
- Copy the DKIM record details (Host:google._domainkey).
- Add a TXT record to your DNS:- Name:
google._domainkey - Value: Paste the public key.
- Name:
- Authenticate: Once DNS propagates, return to the Admin Console and click Start Authentication.
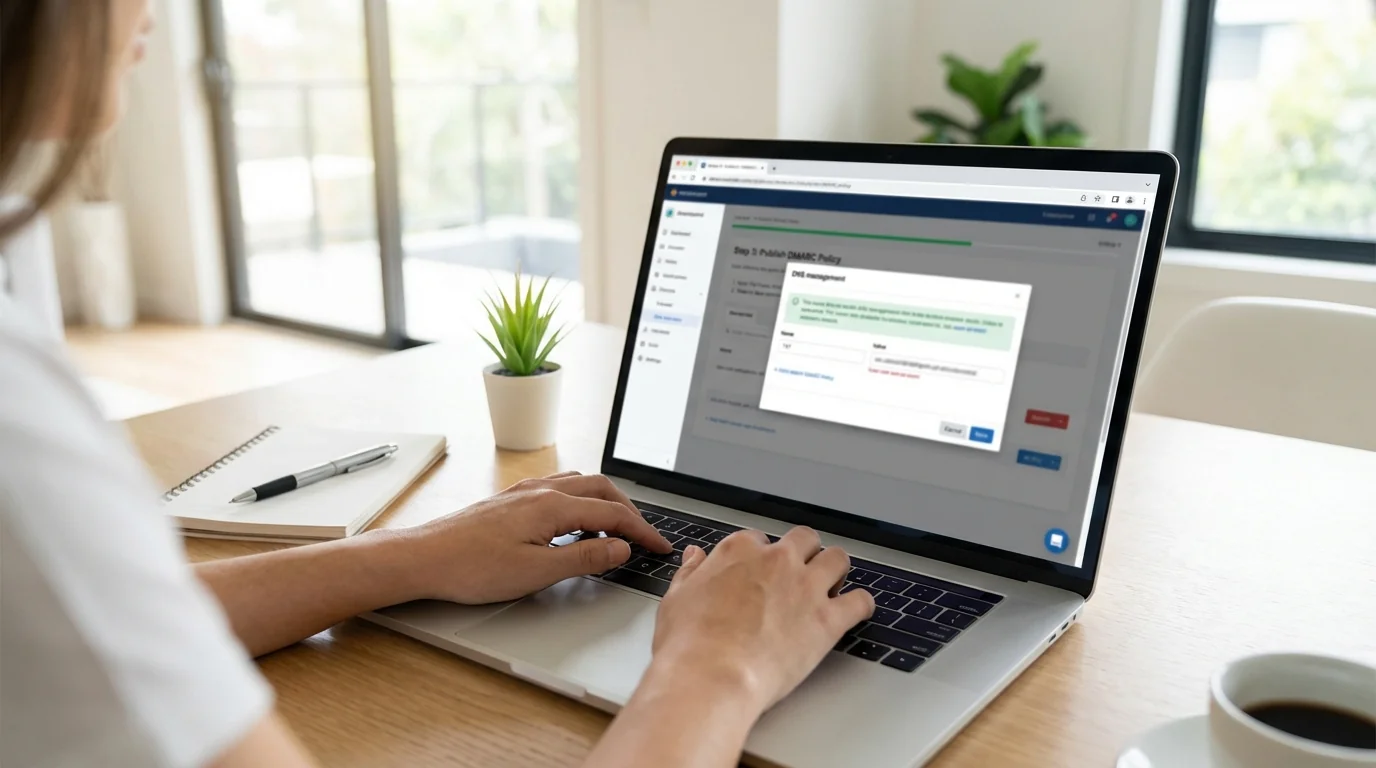
Step 3: Publish DMARC Policy
- Wait for SPF & DKIM: Ensure they are active (recommend 48 hours).
- Add DMARC TXT record:
- Name:_dmarc(or_dmarc.yourdomain.com)
- Value:
v=DMARC1; p=none; rua=mailto:reports@yourdomain.com; pct=100; aspf=s; adkim=s
- Start withp=nonefor monitoring, gradually changing toquarantineorreject.
Step 4: Testing & Verification
- DNS Propagation: Allow 24–48 hours.
- Test Emails: Send test emails to verify SPF, DKIM, and DMARC are passing.
- Check Headers: Verify
dmarc=passand use online tools to confirm record correctness.
Troubleshooting
- Duplicate SPF Records: Ensure only one exists. Merge entries if needed.
- DKIM Issues: Verify DNS entry, wait for propagation, or check for typos.
- DMARC Reports: Ensure
ruaemail is correct and policy allows time for analysis.
Conclusion
By following these steps, you've successfully configured SPF, DKIM, and DMARC for your Google Workspace to enhance email security. To further optimize your email management, consider checking out KeepKnown, which can help filter and manage your inbox efficiently. For more tips, explore our related guides below.